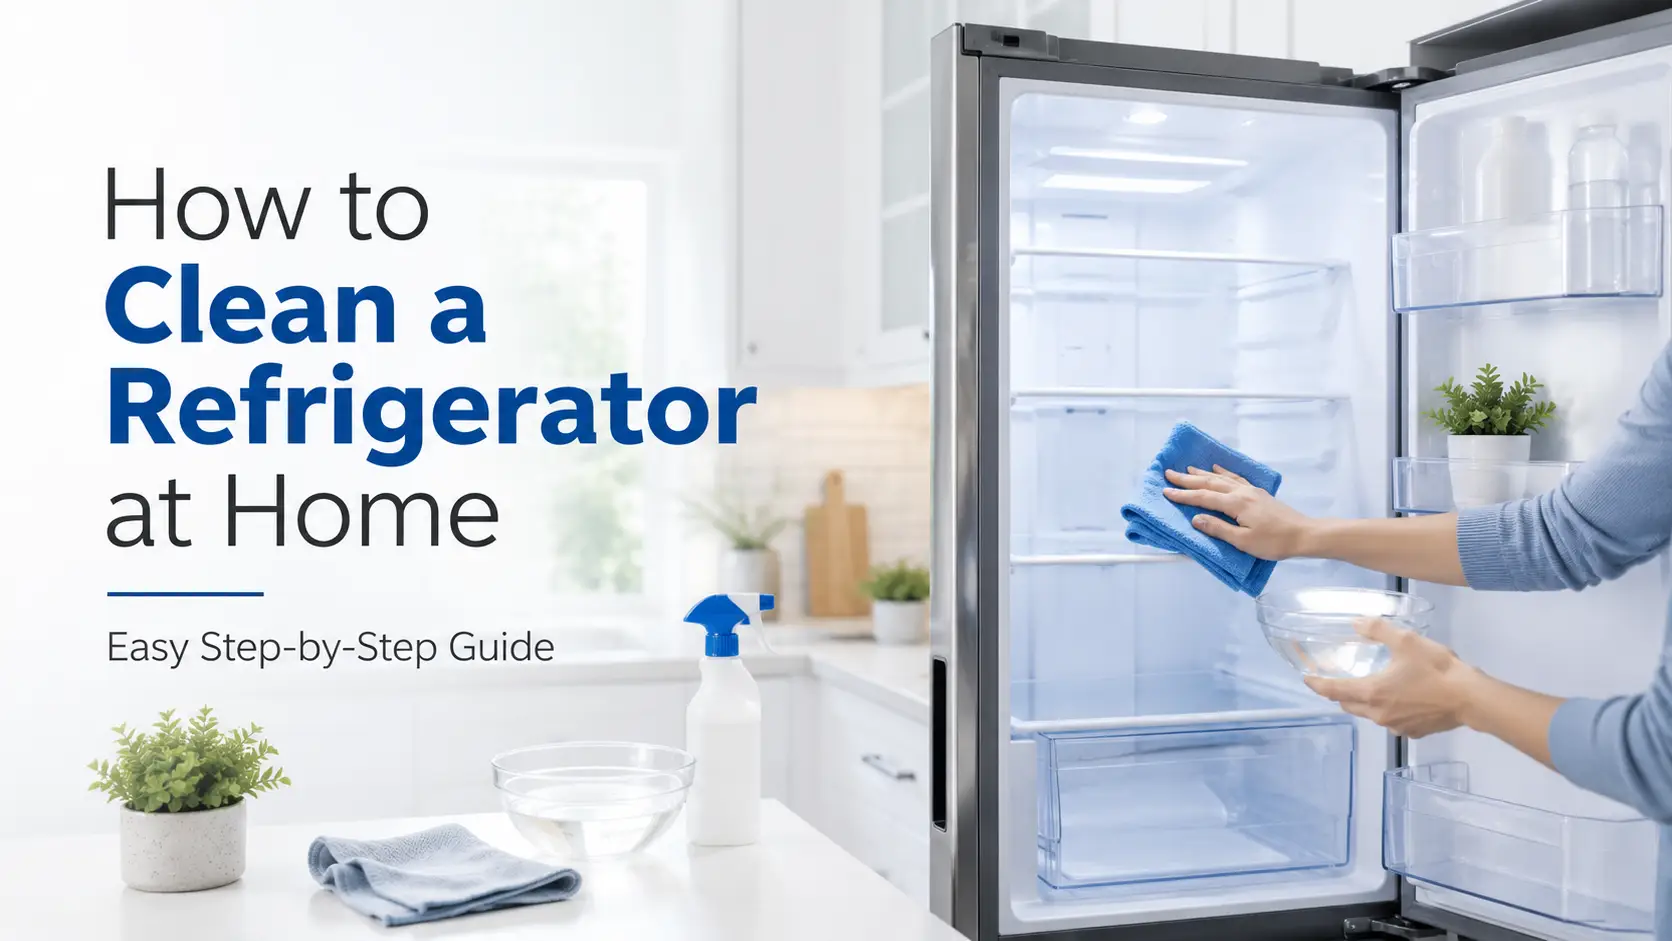
How to Clean a Refrigerator at Home: Easy Step-by-Step Guide
A refrigerator is one of the most frequently used appliances in every home. It keeps food fresh, protects groceries from spoilage, and helps maintain an organised kitchen. However, spills, expired food, stains, and unpleasant odours can quickly build up inside it.
Knowing how to clean a refrigerator at home properly can help keep your food-storage area fresh, hygienic, and organised. Regular cleaning may also help the refrigerator operate efficiently by keeping vents, seals, and surrounding areas free from dust and dirt.
This guide explains a simple and safe method for cleaning the inside and outside of your refrigerator.
Why Is Refrigerator Cleaning Important?
Food particles, liquid spills, moisture, and expired items can create unpleasant smells inside a refrigerator. If left uncleaned for a long time, shelves and drawers may become sticky and difficult to clean.
Regular refrigerator cleaning helps you:
- Remove expired and spoiled food
- Reduce unpleasant smells
- Keep shelves and drawers hygienic
- Prevent stains from becoming permanent
- Organise food more efficiently
- Identify damaged containers or leaking packages
- Keep door seals and air vents clean
Small spills should be cleaned immediately, while a complete deep cleaning can be performed every few months or whenever the refrigerator becomes dirty.
Items You Need to Clean a Refrigerator
Before starting, collect the following cleaning materials:
- Soft microfiber cloth
- Clean sponge
- Bowl or bucket
- Mild dishwashing liquid
- Warm water
- Baking soda
- Soft toothbrush
- Dry towel
- Garbage bag
- Cooler box or insulated bag, if available
Avoid using sharp tools, harsh chemicals, bleach, or rough scrubbers unless the refrigerator manufacturer specifically recommends them. Strong cleaning products may damage the surface or leave an unwanted smell near stored food.
Step 1: Switch Off and Unplug the Refrigerator
Safety should always be your first priority.
Turn off the refrigerator and unplug it from the electrical outlet before cleaning. This reduces the risk of electrical shock and prevents unnecessary energy use while the door remains open.
Do not pull the plug with wet hands. Keep water away from electrical components, control panels, internal lights, and wiring.
Step 2: Remove All Food Items
Take everything out of the refrigerator, including:
- Fruits and vegetables
- Bottles and jars
- Cooked food
- Dairy products
- Frozen items
- Sauces and condiments
- Medicine stored inside the refrigerator
Check every item carefully. Throw away food that is expired, spoiled, leaking, mouldy, or no longer safe to consume.
Keep perishable and frozen products in a cooler box or insulated bag while cleaning. Try to complete the process without leaving temperature-sensitive food outside for an unnecessarily long period.
Step 3: Remove Shelves, Drawers, and Trays
Carefully remove all detachable shelves, vegetable drawers, egg trays, bottle guards, and other removable parts.
Allow cold glass shelves to reach room temperature before washing them with warm water. Sudden temperature changes may cause some glass shelves to crack.
Check the refrigerator manual when you are unsure how to remove a shelf or drawer. Do not force any component, as plastic clips and support brackets can break.
Step 4: Wash the Removable Parts
Prepare a cleaning solution using warm water and a small amount of mild dishwashing liquid.
Wash each removable part using a soft sponge or cloth. Pay special attention to corners, grooves, handles, and drawer edges where food residue often collects.
For stubborn stains, apply a paste made from baking soda and a small amount of water. Leave it on the stain briefly, then wipe gently.
After washing:
- Rinse the parts with clean water.
- Wipe them with a dry towel.
- Allow them to dry completely before reinstalling them.
Never place wet shelves or drawers back inside the refrigerator.
Step 5: Clean the Interior Walls
Mix approximately two tablespoons of baking soda with one litre of warm water. This mild solution can help clean food residue without leaving a strong chemical smell.
Dip a soft cloth into the solution and wring out excess water. Wipe the refrigerator from top to bottom, covering:
- Interior walls
- Shelf supports
- Ceiling and base
- Door compartments
- Corners and edges
- Air-vent surroundings
Do not pour water directly inside the refrigerator. Use a damp cloth rather than a heavily soaked sponge.
A soft toothbrush can help clean narrow corners and difficult areas. However, avoid pushing dirt or water into drainage holes, vents, sensors, or electrical components.
Step 6: Remove Stubborn Stains and Bad Smells
Sticky spills should be softened before scrubbing. Place a warm, damp cloth over the stained area for a few minutes, then wipe it gently.
To reduce refrigerator odours:
- Remove all spoiled food.
- Clean leaked liquids completely.
- Wash food containers before returning them.
- Keep cooked food in sealed containers.
- Place an open container of baking soda inside the refrigerator.
Baking soda can help absorb everyday food odours. Replace it periodically to maintain freshness.
Avoid covering bad smells with perfume or air freshener. A strong odour may indicate spoiled food, hidden spills, blocked drainage, or another maintenance issue.
Step 7: Clean the Refrigerator Door Seal
The rubber lining around the refrigerator door is called the gasket or door seal. Dirt, crumbs, and moisture can collect inside its folds.
Clean the seal with warm water and mild dishwashing liquid. Use a soft toothbrush for narrow areas, then wipe it dry.
Do not pull, cut, or aggressively scrub the rubber seal. A damaged or loose gasket may prevent the door from closing properly and allow cold air to escape.
Check whether the seal has:
- Cracks
- Tears
- Mould
- Loose sections
- Hard or damaged rubber
Contact an authorised technician when the seal is damaged or the refrigerator door does not close securely.
Step 8: Clean the Exterior Surface
Wipe the exterior using a soft, damp cloth and mild cleaning solution.
Clean the:
- Refrigerator doors
- Side panels
- Handles
- Top surface
- Control panel surroundings
Use a cleaner suitable for stainless steel when your refrigerator has a stainless-steel finish. Follow the manufacturer’s instructions and wipe in the direction of the surface grain.
Do not spray liquid directly onto electronic displays, switches, or control panels. Apply the cleaner to the cloth first.
Step 9: Remove Dust from the Back and Underneath
Dust can collect behind and underneath the refrigerator. Carefully move the appliance only when it is safe and practical to do so.
Use a vacuum cleaner, soft brush, or dry cloth to remove dust from:
- The floor beneath the refrigerator
- The rear surface
- Ventilation openings
- Accessible condenser areas
Do not touch exposed wiring, refrigerant pipes, or electrical parts. For built-in refrigerators or appliances that are difficult to move, professional maintenance may be safer.
Step 10: Dry and Reassemble the Refrigerator
Use a clean, dry cloth to remove any remaining moisture inside the refrigerator.
Reinstall the shelves, drawers, trays, and door compartments only after everything is fully dry. Make sure each component is positioned securely.
Plug the refrigerator back into the electrical outlet and switch it on. Allow it to return to its normal cooling temperature before loading large amounts of food.
Step 11: Organise Food Properly
Before placing food back inside, wipe bottles, jars, containers, and packages.
Organise items by category:
- Keep vegetables in the vegetable drawer.
- Store raw and cooked food separately.
- Use sealed containers for leftovers.
- Place frequently used products within easy reach.
- Keep older items near the front.
- Avoid blocking internal air vents.
Do not overload the refrigerator. Proper air circulation is necessary for consistent cooling.
Common Refrigerator-Cleaning Mistakes
Avoid these common mistakes:
- Cleaning without unplugging the refrigerator
- Using boiling water on cold glass shelves
- Applying harsh chemicals near food-storage areas
- Using knives to remove ice or stains
- Returning shelves while they are wet
- Spraying water directly onto electrical components
- Ignoring the rubber door seal
- Keeping expired food after cleaning
- Blocking air vents with containers
These mistakes may damage the appliance or create safety risks.
How Often Should You Clean Your Refrigerator?
A practical refrigerator-cleaning schedule may include:
- Immediately: Clean liquid spills and food leaks.
- Weekly: Check leftovers and expired food.
- Monthly: Wipe shelves, drawers, and door compartments.
- Every three to four months: Perform a complete deep cleaning.
- As needed: Clean the door seal, exterior, back, and surrounding floor.
The required frequency depends on household size, cooking habits, food-storage practices, and how often spills occur.
Final Thoughts
Learning how to clean refrigerator at home is simple when you follow the correct steps. Start by unplugging the appliance, removing food, washing detachable parts, and cleaning the interior with mild products. Do not forget the door seal, exterior surface, air vents, and surrounding floor.
Regular cleaning keeps your refrigerator fresh, organised, and pleasant to use. It can also help you notice spoiled food, damaged containers, loose seals, and other issues before they become more serious.
For refrigerators and other reliable home appliances, explore the latest products available at Shoptorshi Electronics.
Frequently Asked Questions
Can I clean a refrigerator with baking soda?
Yes. Baking soda mixed with warm water can be used as a mild cleaning solution for many refrigerator interiors. Always check the manufacturer’s cleaning instructions first.
Can I use bleach inside my refrigerator?
Harsh chemicals are generally unnecessary for routine cleaning and may leave strong fumes or damage surfaces. Use mild dishwashing liquid or a baking-soda solution unless the manufacturer recommends another method.
How can I remove a bad smell from my refrigerator?
Remove spoiled food, clean all spills, wash containers, and wipe the interior thoroughly. Keeping an open container of baking soda inside may help absorb everyday odours.
Should I switch off the refrigerator before cleaning?
Yes. Unplugging the refrigerator is the safest approach when performing a complete cleaning.
Why should refrigerator shelves dry before reinstalling?
Wet shelves may create excess moisture, water marks, or slippery surfaces. Allow every removable part to dry completely before returning it to the refrigerator.